Curved Cherry Slab Table

Three years ago…
This was one of the first trees I had milled myself. It caught my eye while I was helping some family chop up storm-blown trees for firewood. I split this curve and was immediately captivated by what I had found. I didn’t know what I would make, tow end tables? Fortunately I had a long time to figure it out…

After 3 years on the drying rack, It was time. First step was to flatten the slabs and make them the same thickness. Setting them next to each other, it seemed like they wanted to stay together. They will combine to be an amazing coffee table.

This… is a bullet. My tool hummed right through it without making a sound, and I could scratch it with my fingernail, so I’m certain it’s lead. The property owner confessed; as a boy he and his siblings took liberties with their .22. This round was here over 40 years, and through shear luck it was at spot in the tree that allowed it to be found.
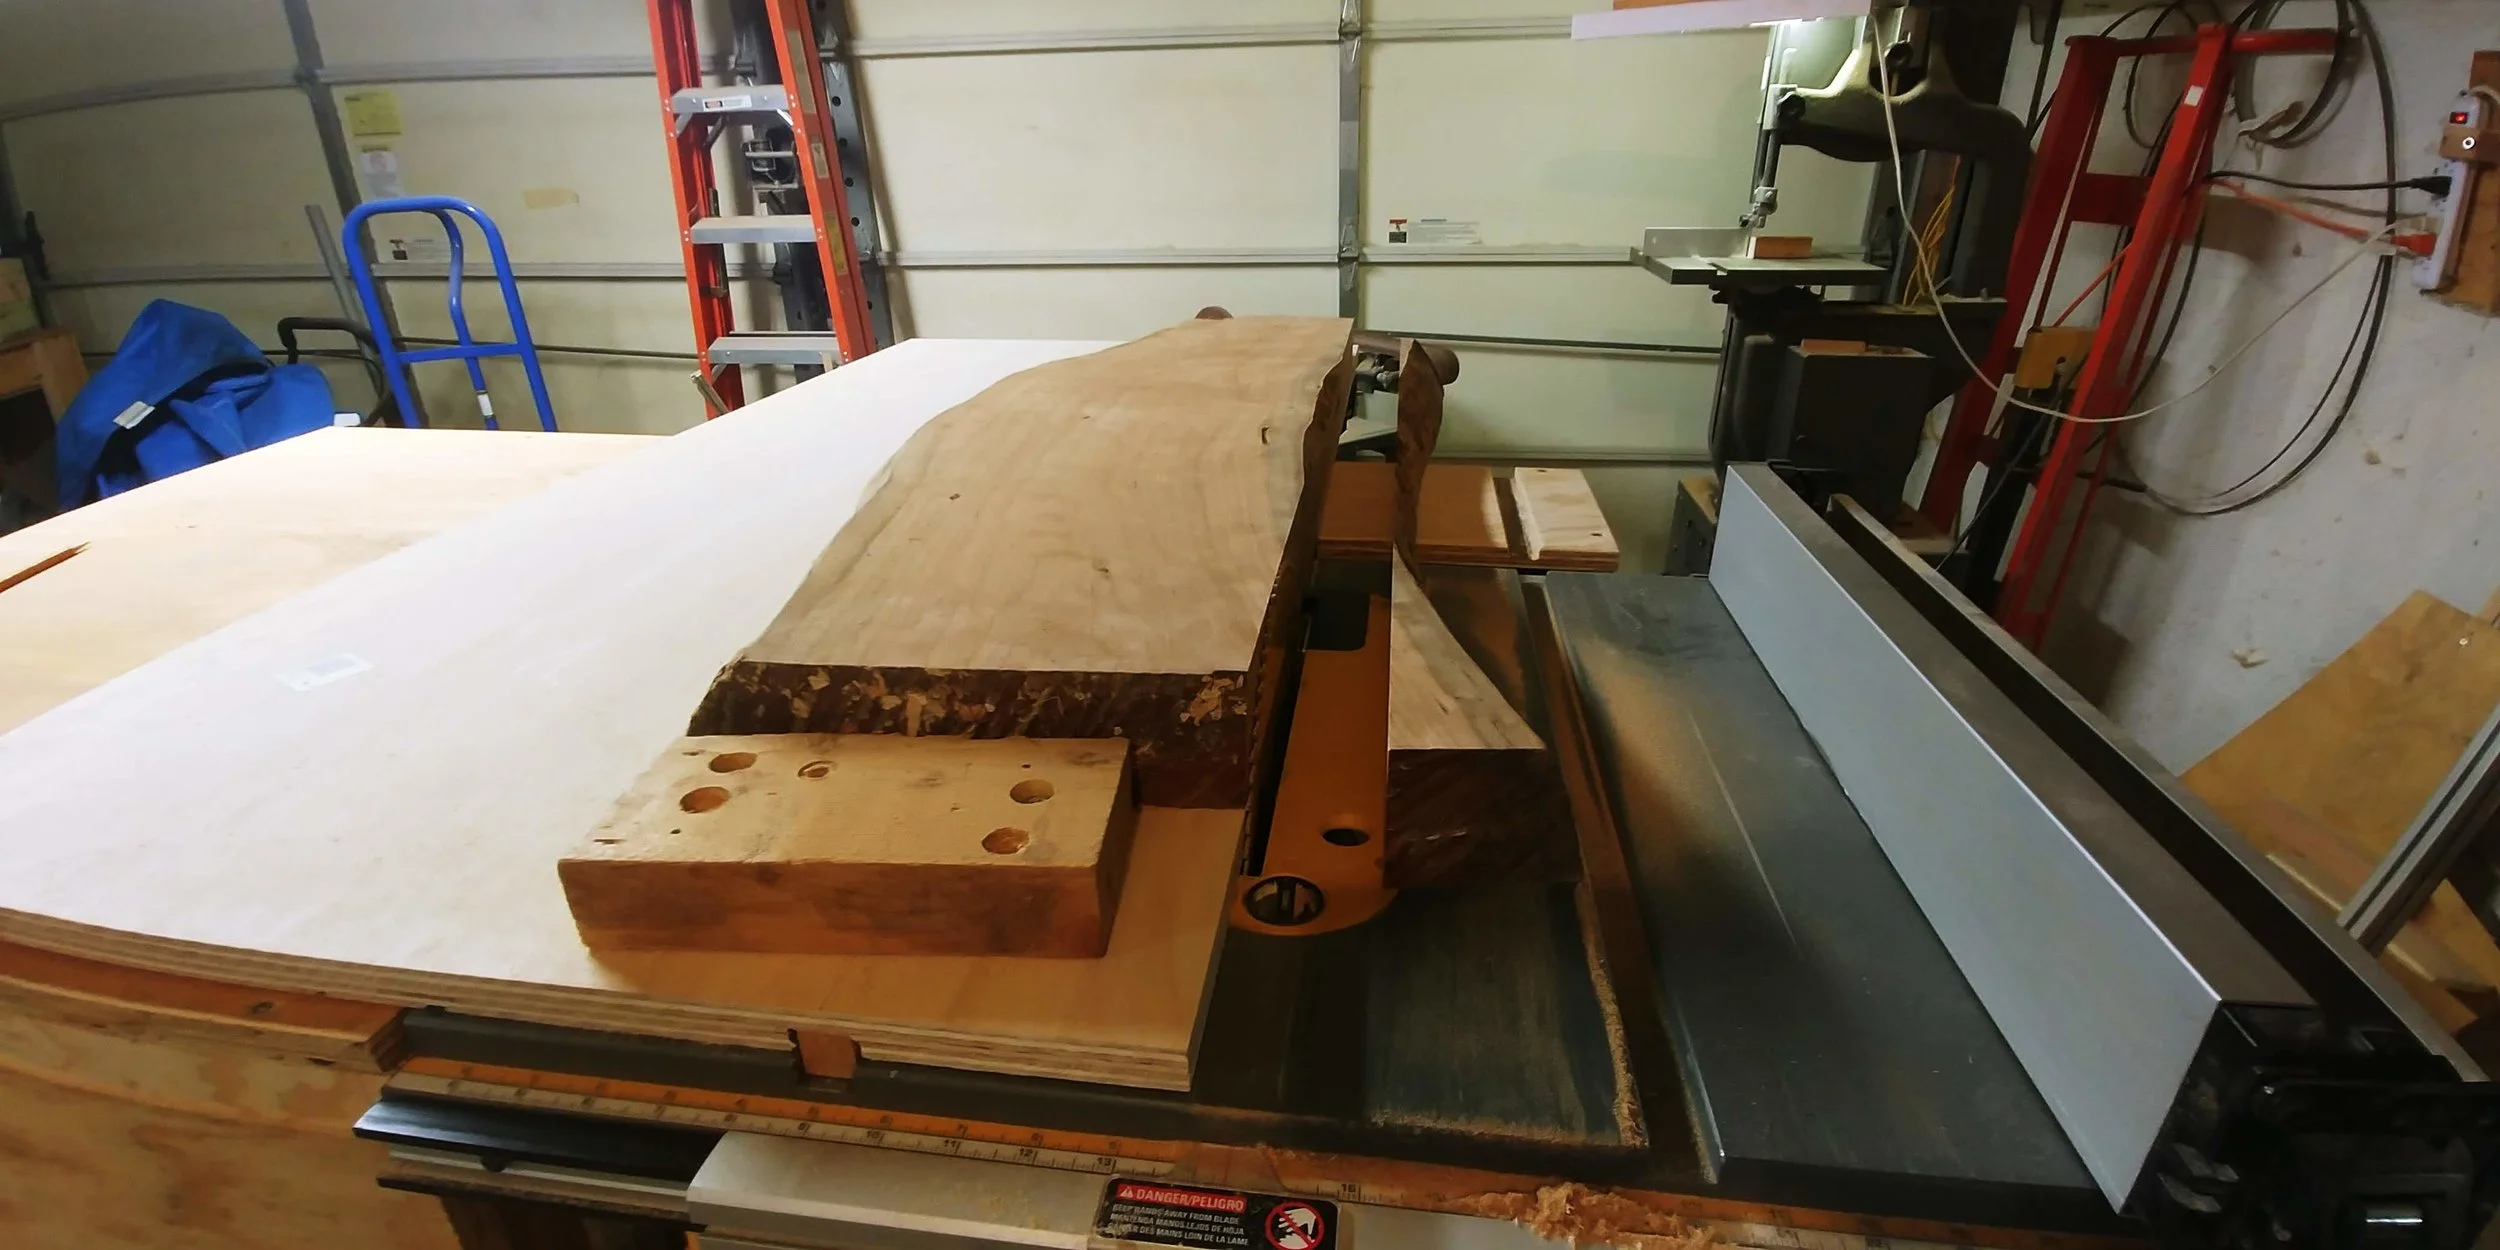
Creating a perfectly straight, square edge along two curved slabs was a challenge. A third of the total project time was spent building a slide table extension for the saw. This addition will continue to pay off, saving many a’finger from the hungry saw blade.

Two slabs, joined and fitted up. Planar alignment is maintained with biscuits, made myself from hickory to fit with no wiggle room.

Next, two dovetailed slots were cut across the bottoms of both slabs. These were stressful, as they needed to be perfectly parallel and a prefect match from slab to slab. Over an hour of setup was done prior to these cuts. Seen above is a test piece to simulate the rails that will eventually be installed…

Rails made and installed. These will do two jobs; holding and locating the slabs, plus providing a cross-grain reinforcement to hold the legs.

Square cut tenons, going through the rail and into the slab at a 12 degree angle. This angle will splay the legs out to give this heavy table more stability.

Tapered legs set in their rails, prior to installation. Easily visible are the mortises that will pass through the rails into the slabs.

The system at work: the slabs are held together by the rails, aligned by the unseen biscuits, and prevented from separating by the legs. As long as gravity keeps working, this table will not come apart. No glue, no screws.

Cutting this acute angled edge in a 2 inch thick slab was significantly more difficult than I had imagined. The cut surface required a lot of cleanup, and though it feels perfectly smooth, it is not perfectly flat.

The clear epoxy that fills the voids does not remain clear through sanding. The table surface was sanded to 400gr before the polyurethane application began. With just the first coat, the figure of the gran began to pop and the surface of the poly cleared up.
This table is finally complete and ready for use. It is also available for purchase, please follow the Contacts link above to inquire.
